


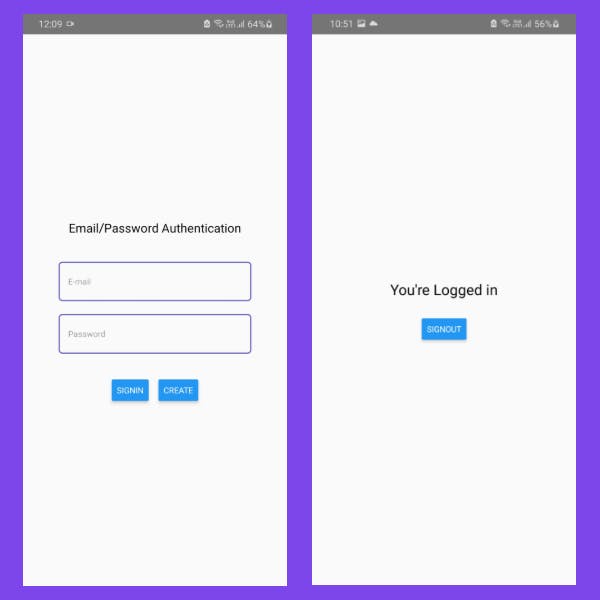
In this tutorial, we will learn how to authenticate users with their email and password using Firebase's authentication module in a Non-Expo React Native application.
To learn more about Firebase, refer to this link.
Prerequisites
The basics of React and React Native will not be covered in this tutorial. If you are not comfortable with the basics, this is a helpful tutorial.
Overview
We'll be going through these steps in this article:
- Development environment.
- Cloning the starter code.
- Setting up the Firebase project.
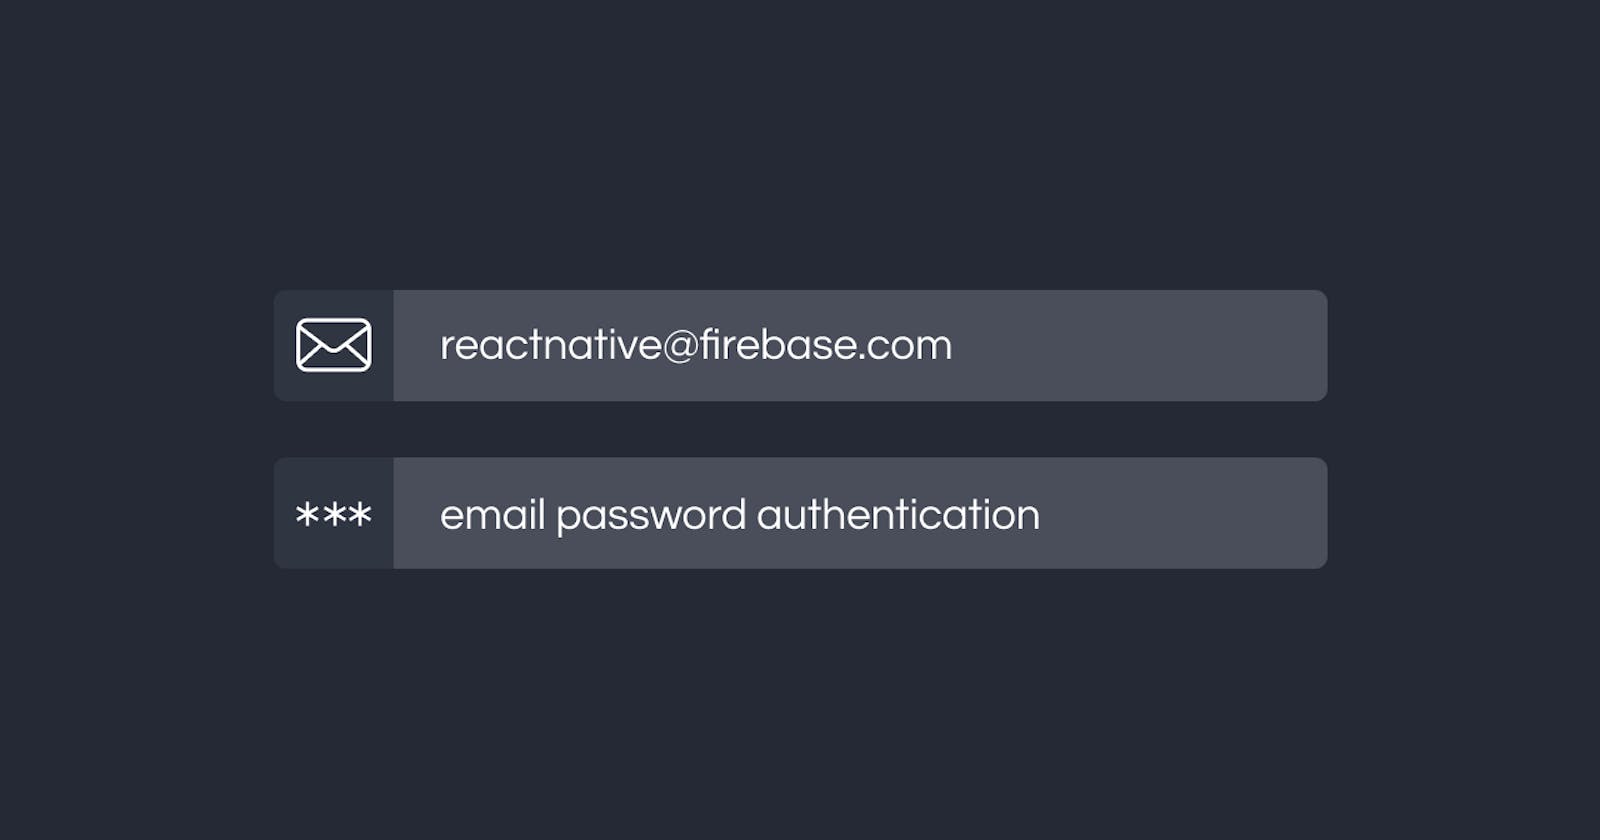
- Setting up Firebase Authentication.
- Creating an Account.
- Sign in to Existing Account.
- Authenticated Screen.
- Signout.
- Recap.
Development environment
IMPORTANT - We will not be using Expo in our project.
You can follow this documentation to set up the environment and create a new React app.
Make sure you're following the React Native CLI Quickstart, not the Expo CLI Quickstart.

Cloning the starter code
To focus more on the authentication module, you can clone the starter code from this repository on GitHub. Follow the Repository's README for instructions.
For the final code, you can look at this GitHub Repository.
This will be the folder structure of the application.
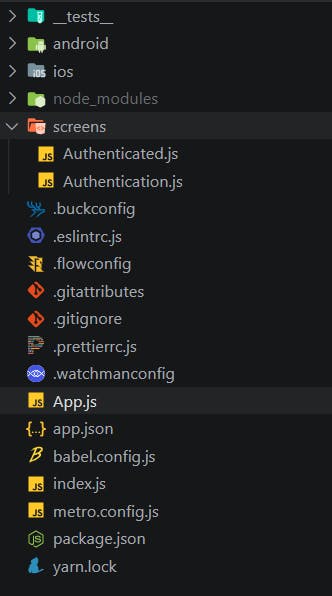
I've set up 2 screens in the screens/ directory:
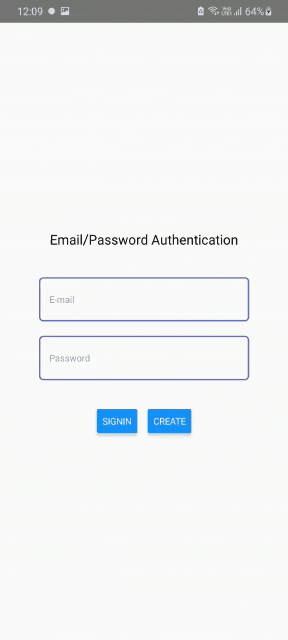
Authentication.js: Screen to sign in or create an account.
Authenticated.js: Screen that the user can see only if he is logged in.
In the App.js, the Authentication screen is exported. As we write the code, we will conditionally display the Authenticated screen after authenticating the user.
Setting up the Firebase project
Head to the Firebase console and sign in to your account.
Create a new project.
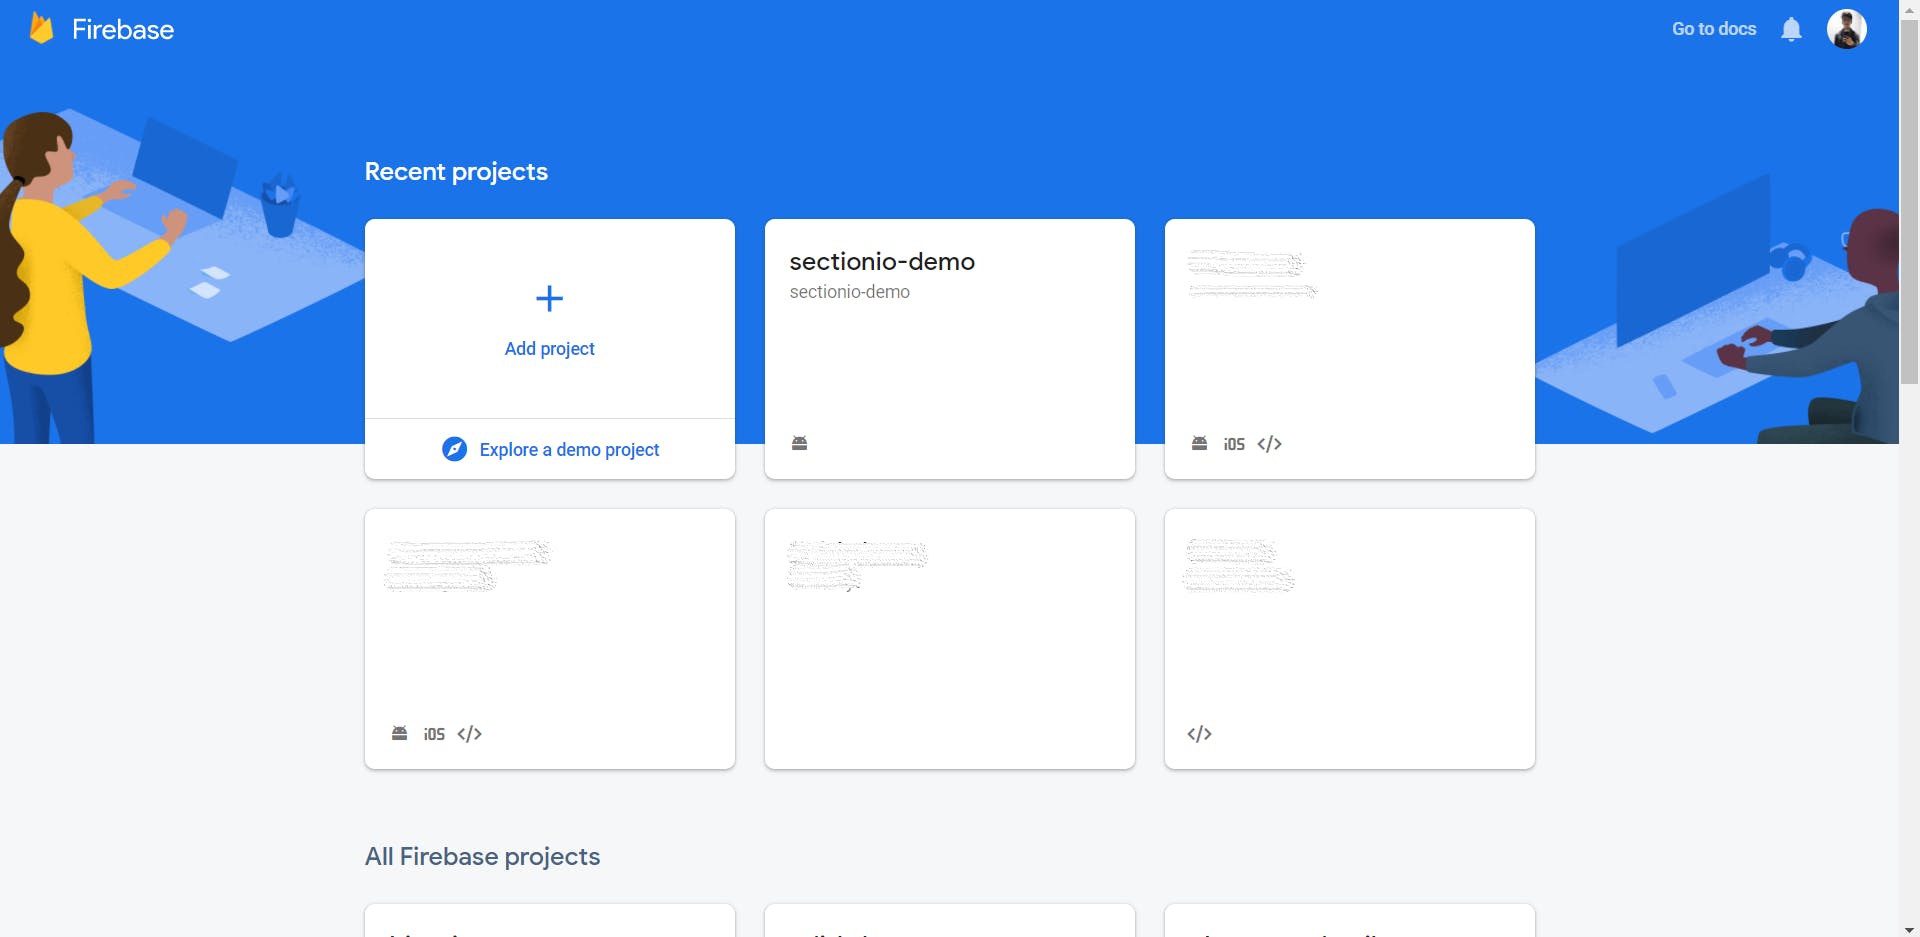
Once you create a new project, you'll see the dashboard.
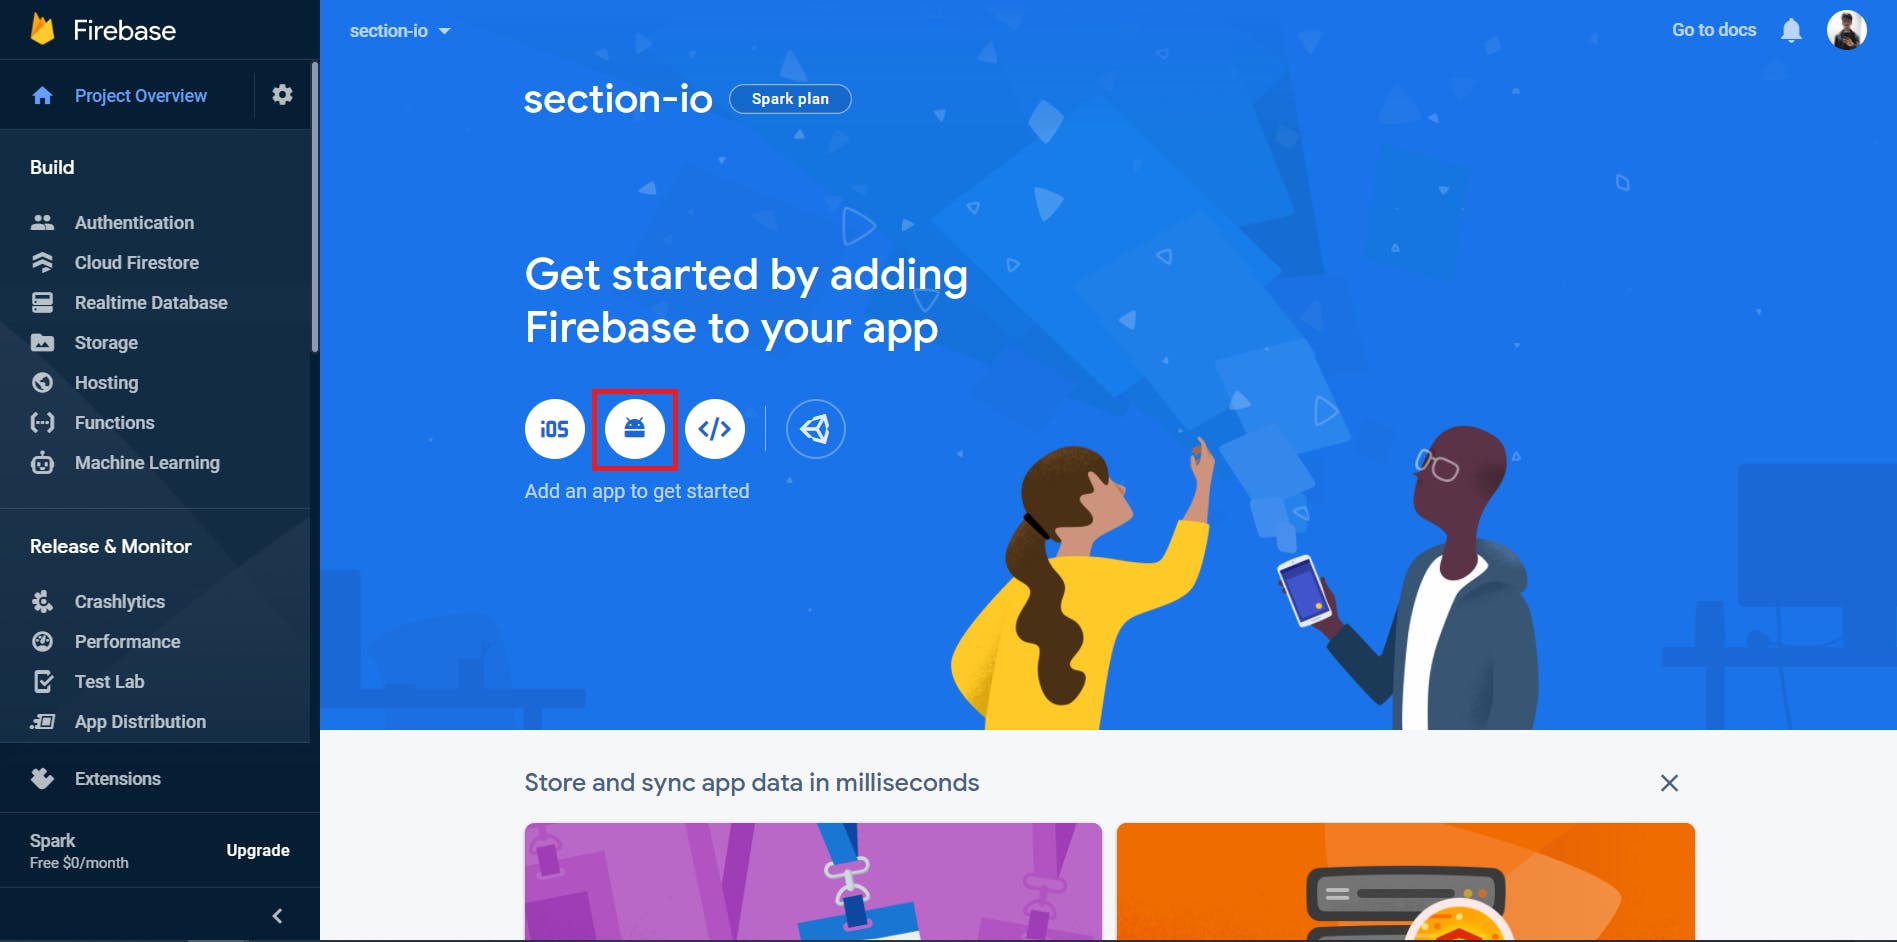
Now, click on the Android icon to add an Android app to the Firebase project.
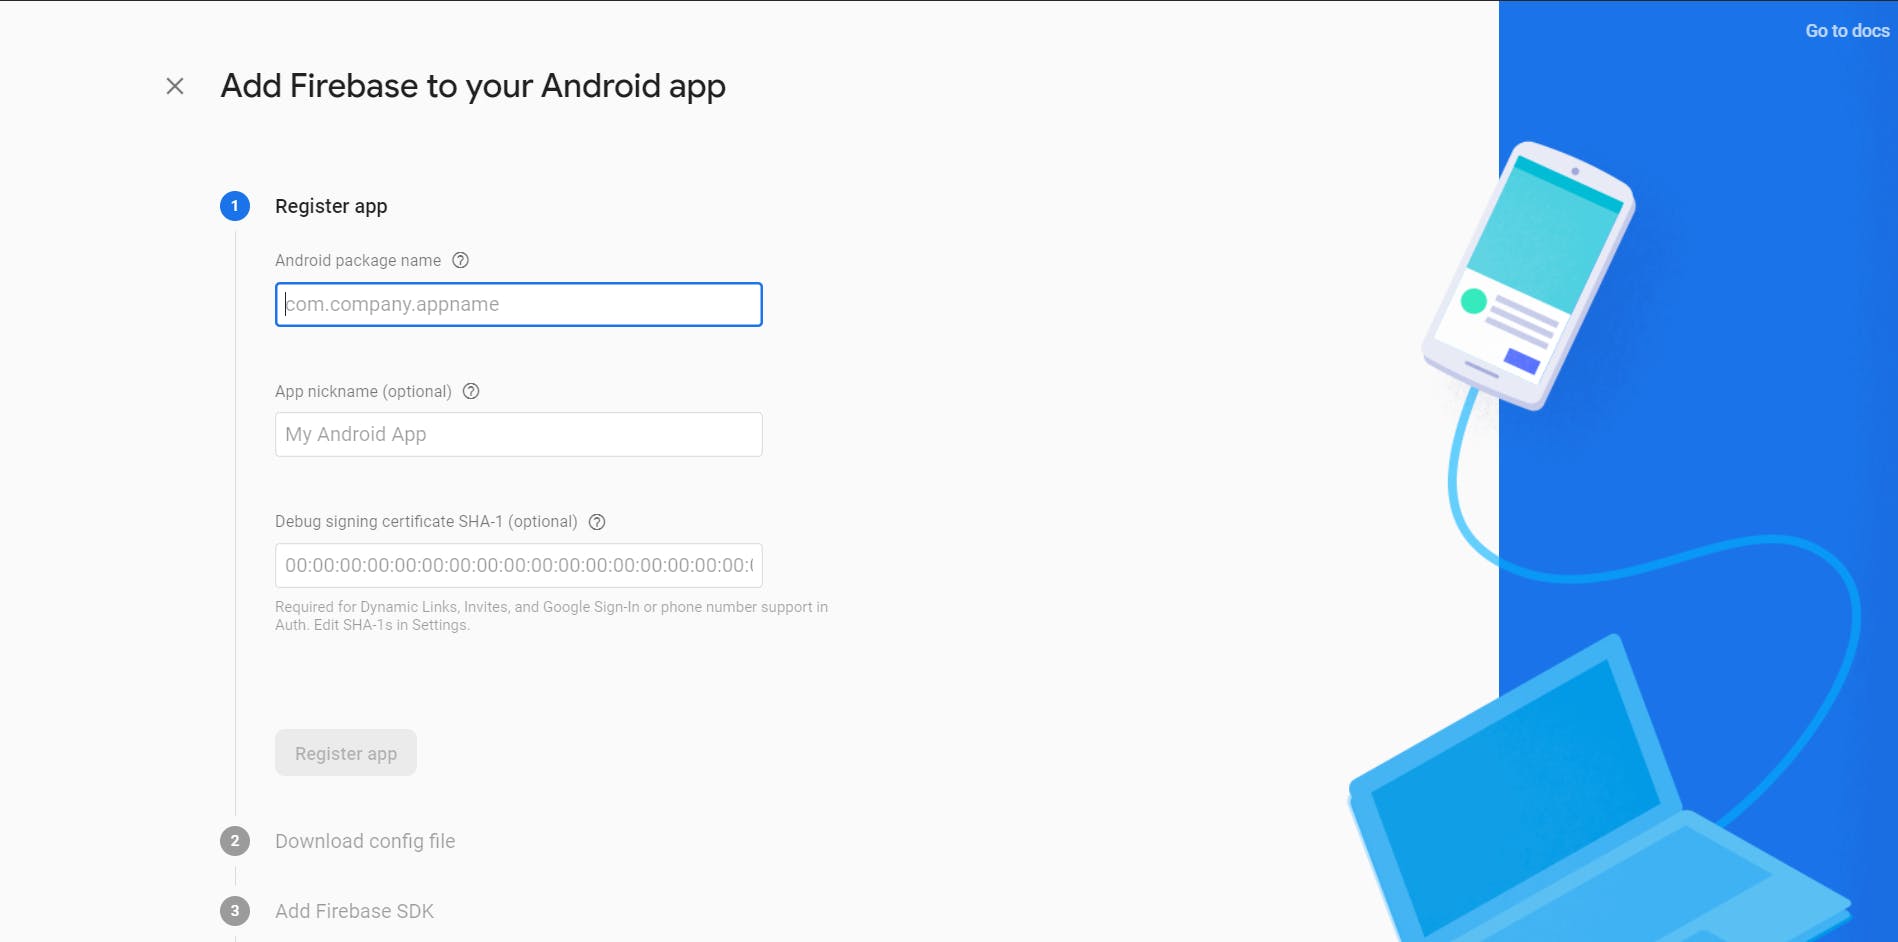
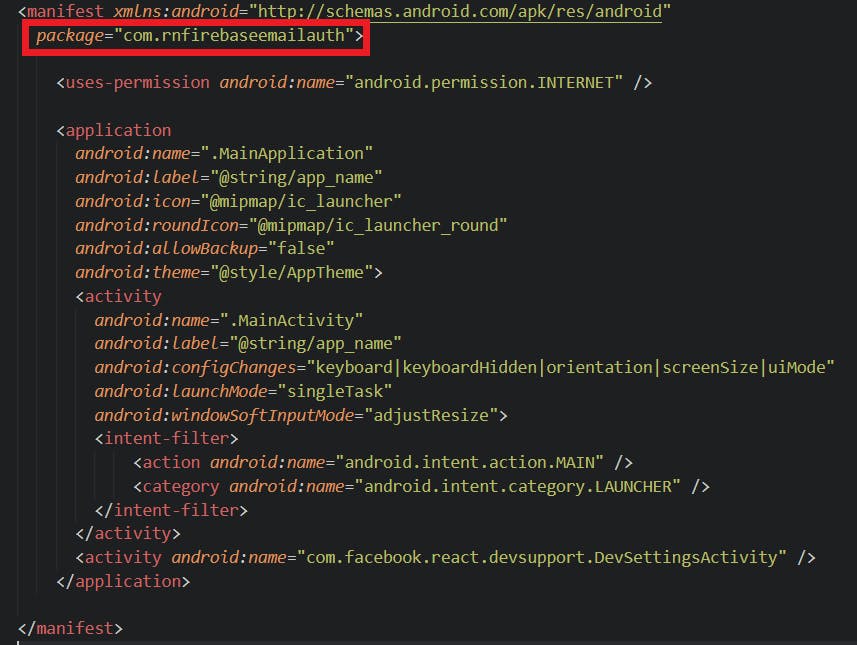
You will need the package name of the application to register application. You can find the package name in the AndroidManifest.xml which is located in android/app/src/main/.
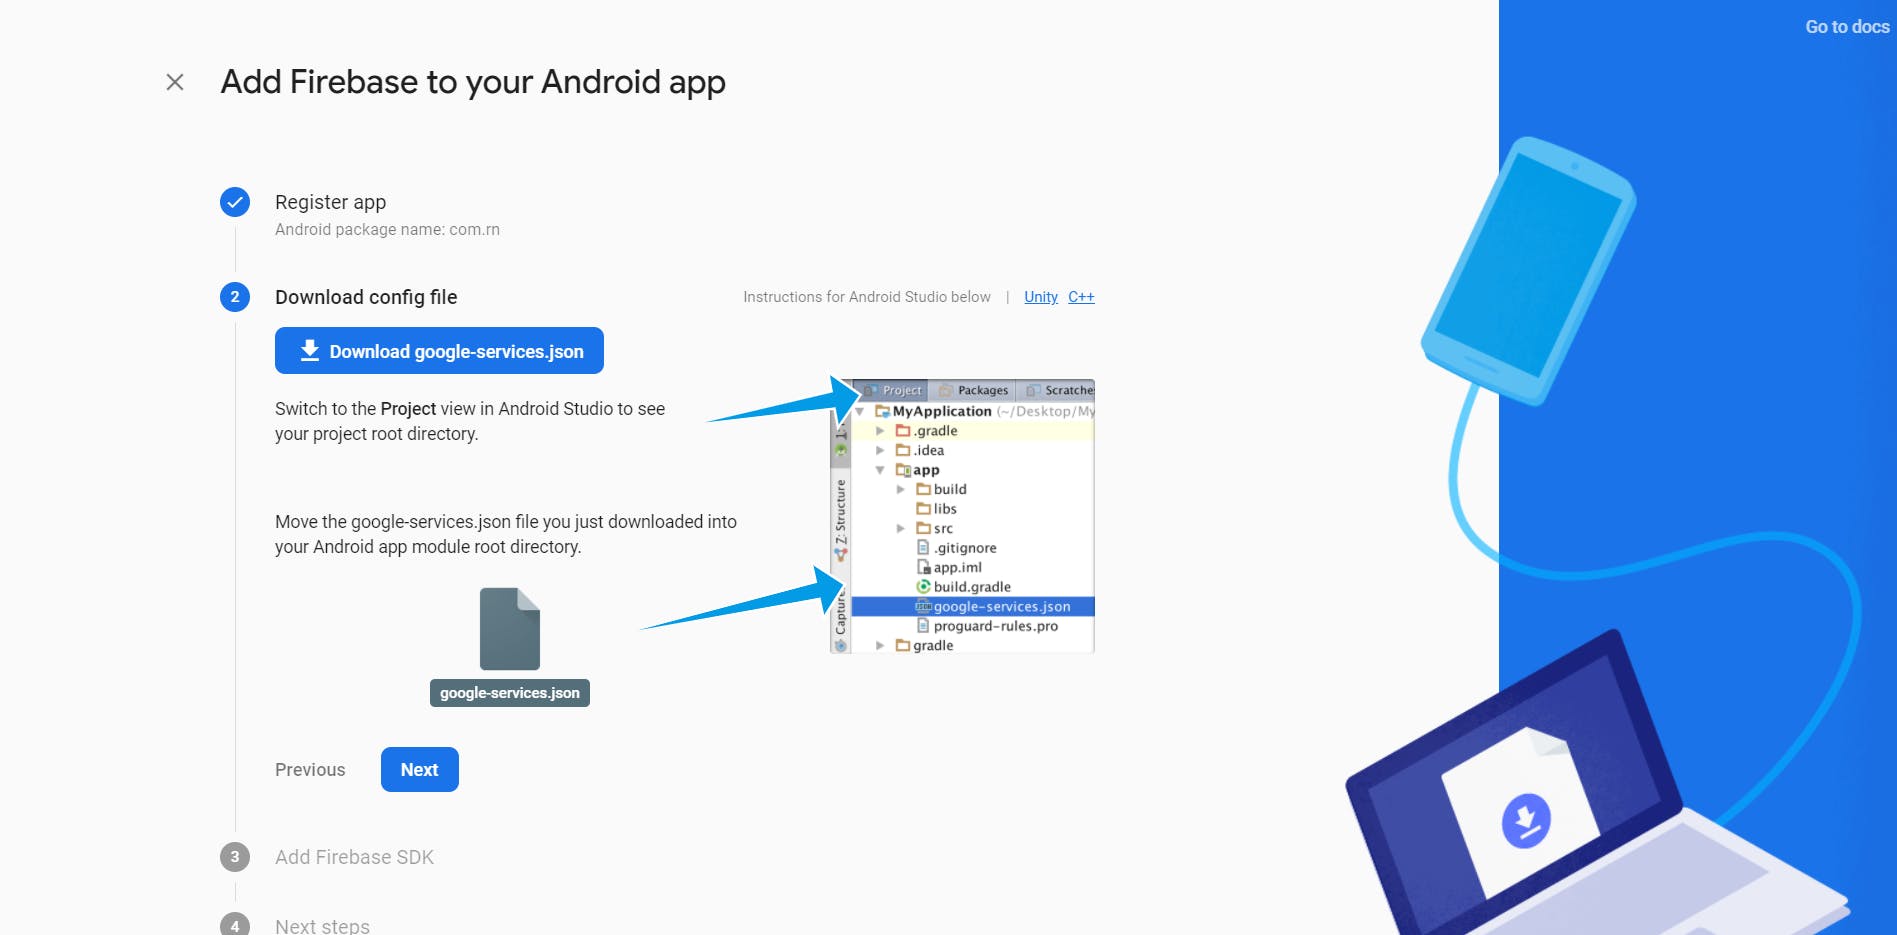
Now, proceed to the next step, you can download the google-services.json file. You should place this file in the android/app directory.
This file contains configurations that'll enable your application to access firebase services.
After adding the file, proceed to the next step. It will ask you to add some configurations to the build.gradle files.
First, add the google-services plugin as a dependency inside of your android/build.gradle file:
buildscript {
  dependencies {
    // ... other dependencies

    classpath 'com.google.gms:google-services:4.3.3'
  }
}
Then, execute the plugin by adding the following to your android/app/build.gradle file:
apply plugin: 'com.android.application'
apply plugin: 'com.google.gms.google-services'
You need to perform some additional steps to configure Firebase for iOS. Follow this documentation to set it up.
We should install the @react-native-firebase/app package in our app to complete the set up for Firebase.
npm install @react-native-firebase/app
Setting up Firebase authentication
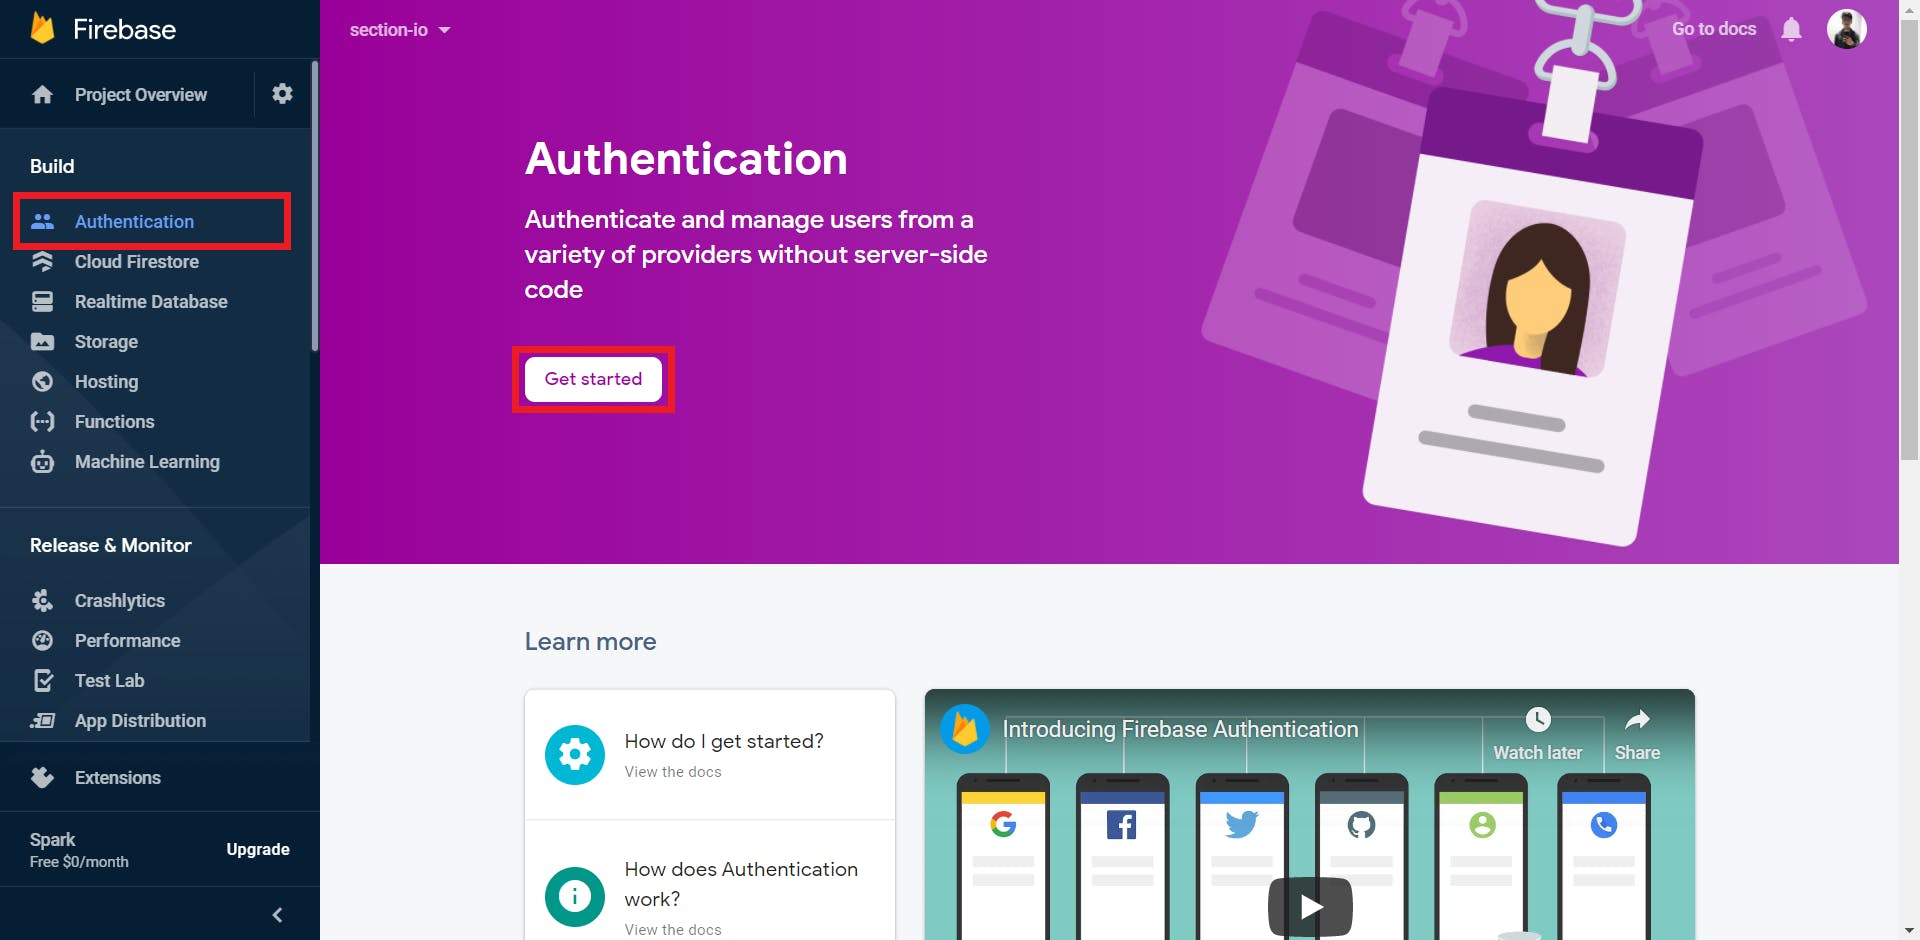
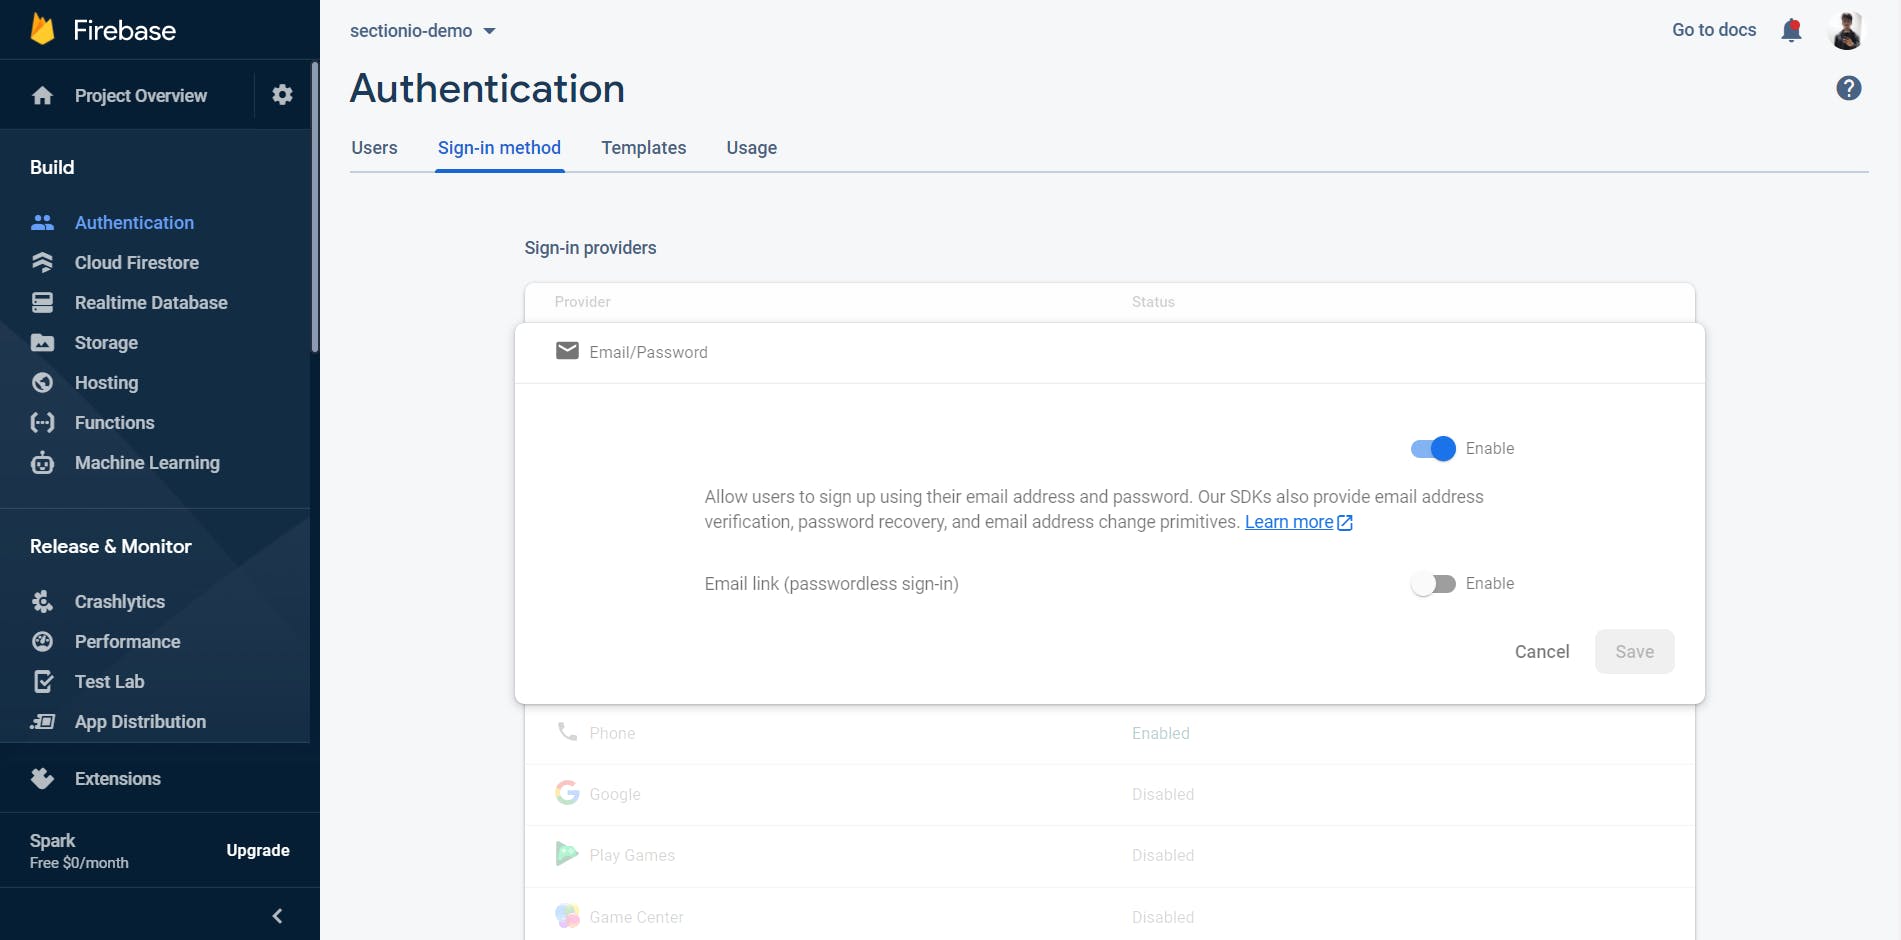
Head over to the authentication section in the dashboard and click on the Get Started button. This will enable the authentication module in your project.
Next, you should enable email/password authentication in the sign-in methods. Once you've enabled it, press Save.
Let's install the @react-native-firebase/auth package in our app.
npm install @react-native-firebase/auth
Let's declare the dependency for the authentication module in the android/app/build.gradle file using the Firebase Android BoM
dependencies {
    // Add these lines
    implementation platform('com.google.firebase:firebase-bom:26.3.0')
    implementation 'com.google.firebase:firebase-auth'
}
With this, the Firebase authentication module is setup in our application.
Creating an user account
The Firebase auth module has a function called createUserWithEmailAndPassword that'll help to create a new user in the application with an email and a password.
For example:
auth().createUserWithEmailAndPassword('johndoe@gmail.com', 'helloworld123');
This will create a new user in the Firebase app with the email ID johndoe@gmail.com and his respective password. Two users in the same application can't have the same email ID.
This function will also sign in the user into the application after creating a user account.
In the App.js, let's import the auth module.
import auth from '@react-native-firebase/auth';
Let's write a function that will accept an email and a password and call the createUserWithEmailAndPassword to create a new user.
The createUserWithEmailAndPassword is an asynchronous function.
const createUser = (email, password) => {
  try {
    auth().createUserWithEmailAndPassword(email, password);
  } catch (error) {
    alert(error);
  }
};
Now, let's pass this function to the Authentication screen.
return <Authentication createUser={createUser} />;
When the user presses the create button, we should call this function. We should pass the email and the password from the state to this function when it is called.
<Button title="Create" onPress={() => props.createUser(email, password)} />
Now, when a user presses this button, the createUserWithEmailAndPassword is called with the email and password, and this will create a new user in the Firebase app. If there is any error, we'll display it to the user using alert().
He/She will also be logged in to the application after the user account is created. To track whether the user is authenticated or not, let's create a state and set the initial value to false.
const [authenticated, setAuthenticated] = useState(false);
The onAuthStateChanged event will be triggered whenever the authentication state of the user changes inside the application.
You can set an event handler for this listener. This handler will receive the user object. If the user object is null, it means the user is signed out, otherwise, they are signed in.
Let's set the authenticated state to true if the user object is not null in the onAuthStateChanged handler.
auth().onAuthStateChanged((user) => {
  if(user) {
    setAutheticated(true);
  }
})
Now, let's return the Authenticated screen if the user is authenticated in the application.
if (authenticated) {
  return <Authenticated />;
}

return <Authentication createUser={createUser} />;
Sign in user
The Firebase auth module has a function called signInWithEmailAndPassword that'll sign in the user into the application with an email and a password.
For example, this will sign in the user into the app with the email ID:
auth().signInWithEmailAndPassword('johndoe@gmail.com', 'helloworld123');
Let's write a function that will accept an email and a password and call the signInWithEmailAndPassword to sign in the user.
The signInWithEmailAndPassword is an asynchronous function.
const signin = (email, password) => {
  try {
    auth().signInWithEmailAndPassword(email, password);
  } catch (error) {
    alert(error);
  }
};
Now, let's pass this function to the Authentication screen.
return <Authentication signin={signin} createUser={createUser} />;
When the user presses the signin button, we should call this function. We should pass the email and the password from the state to this function when it is called.
<Button title="signin" onPress={() => props.signin(email, password)} />
Now, when a user presses the signin button, the signInWithEmailAndPassword is called with the email and password, and this allows the user into the app. If there is any error, we'll display it to the user using alert().
Signout
We should use the signOut method in the auth module to sign out a user from the application.
Let's import the auth module in Authenticated.js.
import auth from '@react-native-firebase/auth';
Let's call the signOut method when the user presses the signout button.
<Button title="Signout" onPress={() => auth().signOut()} />
Now, when the user presses the button, the auth module will sign the user out from the application. This will trigger the onAuthStateChanged listener. The handler will receive null instead of the user object.
Thus, we should set the authenticated state to false if we receive null.
auth().onAuthStateChanged((user) => {
  if(user) {
    setAuthenticated(true);
  } else {
    setAuthenticated(false);
  }
})

Let's Recap
We set up our development environment and created a React Native app.
We created a Firebase project.
We set up the authentication module and enabled email/password authentication in our project.
We cloned the starter code.
We added the dependencies to the
build.gradlefiles.We added a function to create a new user with the
createUserWithEmailAndPasswordmethod from theauthmodule.We created a state to track the authentication state of the user and used the
onAuthStateChangedhandler to update the state.We added a function to sign in a user with the
signInWithEmailAndPasswordmethod from theauthmodule.We used the
authmodule to sign the user out from the application from the Authenticated screen.
Congratulations, :partying_face: You did it.
Thanks for reading!
I do all my writing in my spare time, so if you feel inclined, a tip is always incredibly appreciated.
